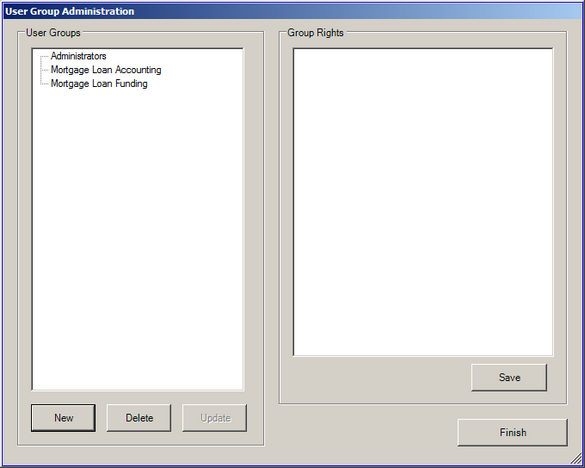
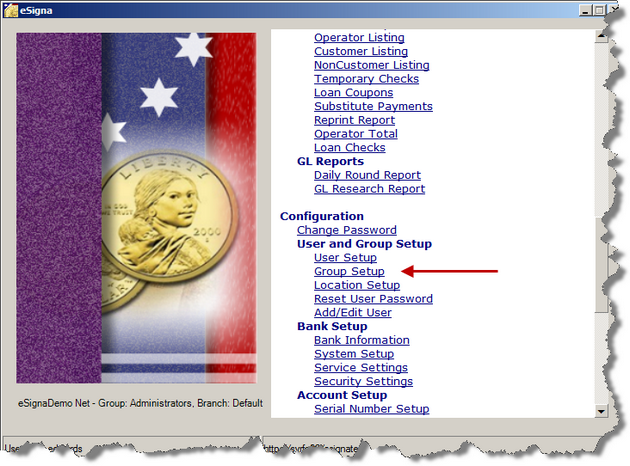
Group Setup provides a way to manage groups and group assignments. Although access to specific menu items can be granted at the user account level, it is recommended that all menu access be governed by group membership. Managing menu access by way of groups eases the burden of compliance demands by reducing the time and effort needed to ensure each user's capabilities are limited to their group's business function.
Each user account created in eSigna must be assigned to a group. If an existing group does not provide the limitations and functionality required for the user, a new group should be created. Groups no longer used may be deleted.
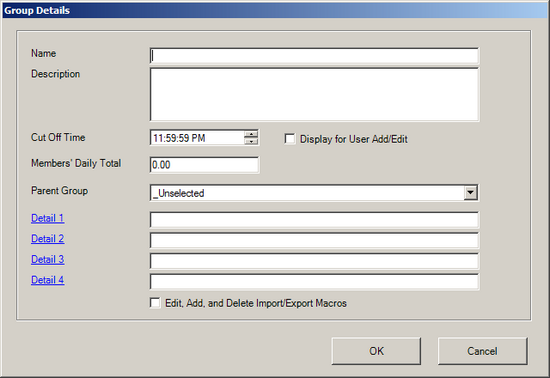
Creating Groups
Required
1.
Click New.
2.
Enter a short, descriptive Name for the user group.
3.
Select a Cut-Off Time. Cut-Off Time determines the entry time a document produced is considered a Today’s Item. For example, if the cut-off time is 3:00 PM, then documents created after 3:00PM would be considered part of the next business day’s activity.
4.
Select Display in User Add/Edit to set this group to be a visible group option for area managers to edit within the Add/Edit User menu option.
5.
Specify a Member's Daily Total amount. This dollar amount limits the operator's aggregate total for a given day's transactions. When any transaction causes this total to be surpassed, the operator will not be able to complete the transaction. The default value of $0.00 indicates there is no limit on the operators in this group.
Optional
•
Enter a Description for the user group.
•
Select a Parent Group. Each user group can be assigned to only one parent group. Parent Groups will be able to view and select users for report, void, stop payment, print, and approval processes - as long as the parent group user has managerial rights. This is an additional setting beyond the managerial authorities given during the setup of a user account.
•
The Detail fields provide five configurable fields to add additional information for the user group. Items entered into these fields will remain unique to the group they are associated with. To change the label, click the Detail name (such as Detail 1) and specify the new label name.
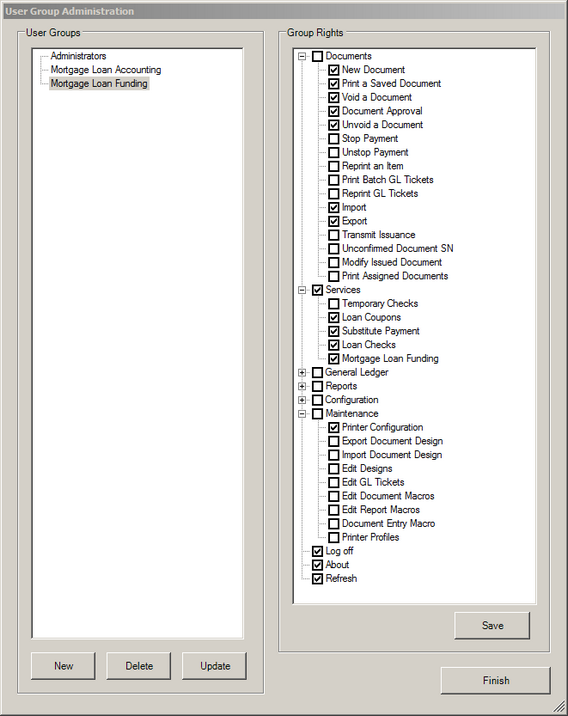
By default, a new user group is not assigned to any menu items. Check the appropriate boxes corresponding to each menu to give access to each user group created. The steps below detail assigning menu access rights to a user group.
1.
Select a User Group.
2.
Scroll through the list of Group Rights and check each box corresponding to the menu options to grant access to for the group.
3.
Click Save to save the settings. Clicking Finish without clicking Save, will NOT save the changes.
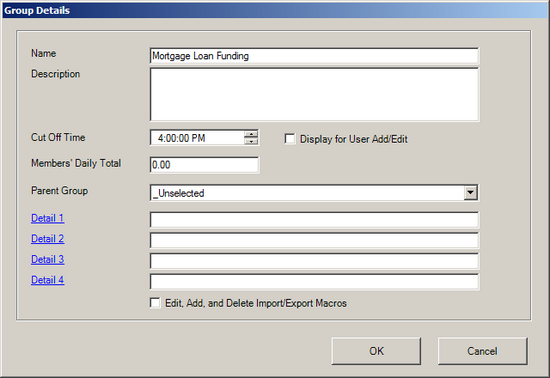
User Groups can be edited or deleted based on process change. If a user is in a group that is deleted, the user's account will be reassigned to the Default user group.
1.
Select a User Group.
2.
Click Update. For a complete list field descriptions, click here.