Add/Edit User provides regional or branch managers with limited user account management privileges. Managers with access to Add/Edit User will be able to view, create, edit, and delete user accounts within their managerial authority. As a security precaution, managers will not be able to grant user accounts greater managerial authority than their own.
Every user is assigned a user group during the creation of their account. Through the group assignment each user inherits specific menu and document securities. For further customization of security, 3Core Software applications provide the option to manually adjust menu privileges on a user by user basis.
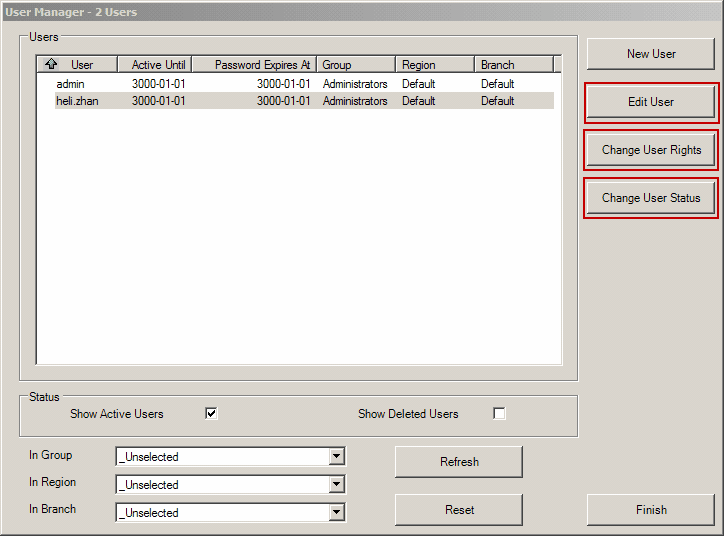
To Change A User's Menu Rights:
1.
Highlight the user account in the list box and click Change User Rights
2.
Make your changes by checking/unchecking menu options
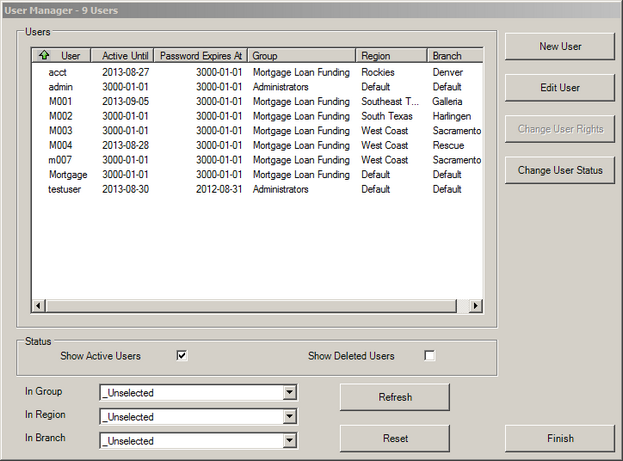
When first opened, the Add/Edit User screen will display active user accounts under the operator's managerial authority. Several filter options are available to reduce the number of displayed user accounts to aid in locating user accounts within a particular user group, region, or branch.
To Begin a Search:
•
Determine the search criteria to use. The default setting is to display Active Users. If your search requires the viewing of deleted records, click in the Show Deleted Users box.
•
To search for a specific User Group, select the user group to search in the In Group box and click Refresh
•
To search for user account(s) within a specific Region, select the user group to search in the In Region box and click Refresh
•
To search for user account(s) within a specific Branch, select the user group to search in the In Branch box and click Refresh
•
To begin a new search, click Reset.
Note: Use any number of search filters to further reduce the number of displayed user accounts.
To create a new user account, from User Manager, click New User andfollow the steps below:
Required
1.
Type a username. Your organizational rules and policies will dictate the naming convention used for user accounts.
2.
Type a Password.
3.
The Active Until date is preset based on Security Settings in Bank Setup, but can be changed to reflect a different account expiration date.
4.
The Password Expires date is preset based on Security Settings in Bank Setup, but can be changed to reflect a different password update notice.
5.
Select a Managerial Right to assign. The default value is "none". The following table defines each level of authority for the available managerial rights:
Information such as branch, group, and managerial rights change. Changes made to a user's account take affect once the user has logged out and back in to eSigna.
1.
Use the search options to display the user account to edit
2.
Highlight the user account in the list box and Click Edit User
3.
Make your changes
4.
Click OK
To Delete a User Account:
1.
Use the search options to display the user account to delete
2.
Highlight the user account in the list box and Click Change User Status
3.
A confirmation message will prompt to OK or Cancel the change in user's status.
Each user was assigned a user group during the creation of their user account. This group assignment gives the user the inherited menu and document securities. eSigna does provide the option to manually adjust menu privileges for a specific user.
To Change a User's Menu Rights:
1.
Use the search options to display the user account to edit
2.
Highlight the user account in the list box and Click Change User Rights
3.
Make your changes by checking/un-checking menu options