Printer Configuration assigns each document type to a specific MICR printer and is unique for each user account. However, to simplify the printer assignment process, an option exists to define a Printer Profile for users within a specific group or branch location that will use a single printer.
 Adding a MICR Printer Assignment
Before adding a printer, log into the user account the printer assignment will be applied to from any client workstation.
Required
| 2. | Select a Document type. Note: Only unassigned document types will be listed. |
| 3. | Select a Default Printer |
| 4. | Select a document Tray the document should pull from. |
Optional
| 1. | Type a brief Description |
| 2. | Type a value for the X Offset or Y Offset. This will adjust the left/right and top/bottom layout on the printout. The default values should not be adjusted. |
Click OK to save the configuration. Optionally, use the Print Test Page option to verify the new printer assignment.
Configuring a Printer Configuration for Dynamic Print Functionality
Dynamic printing enables users to print MICR documents on any printer configured within their Windows environment. This remote printing capability allows a specific document to be printed to an outside department or physical location.
To Configure:
| 1. | Either Add the printer as instructed above or select a printer and click Edit |
| 2. | In the Description box enter: dynamic |
|
|
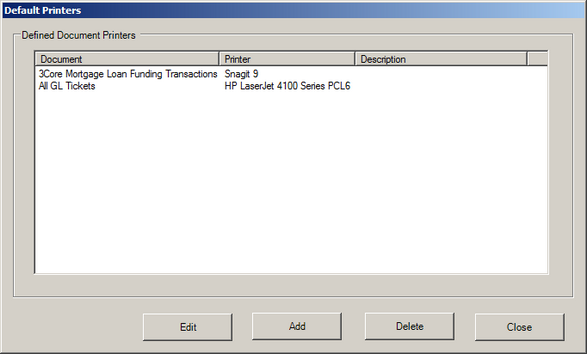
Editing a MICR Printer Assignment
Printer configurations can be edited or deleted.
To Edit:
| 1. | Highlight the printer in the list box and click Edit |
| 1. | Highlight the printer in the list box and click Delete |
| 2. | Click OK to confirm deletion. |
|
|

